Your Kids Will Remember
Written by Melanie Notaras, of My School Adventure
You don’t always have to be planting seeds or munching on delicious fruit and veg that you’ve grown, to enjoy your garden. When the weather’s too hot, too cold or too wet to go outside, bring nature indoors with garden crafting! Recharging your own mind with the soulful pleasure of nature and art at any time of the year helps re-energise you and your relationship with your family.
Here are two garden craft projects that our family loves to make – art for our family calendar, and leaf bookmarks. Instead of buying a calendar each year, we make our own. It encourages everyone in our family to create art, feel pride in displaying it, and so much joy to see it every day. We’ve made calendars for the last eight years and it’s amazing to flick back through them and see how the kids have developed – through the steady change of their artistic skill. These craft projects are easy to make from items you can find in your garden or along the footpath and are blooming fun to boot!
Dried Lavender Heart
Our dried lavender love heart will bring you joy – and garden fragrance – for every day of the month. What you will need:
- about 15 stalks of dried lavender
- 50mls liquid PVA glue
- a paint brush to apply glue
- a piece of pink colored background paper.
If you have a lavender bush at home that hasn’t been pruned recently, then you’re in luck – you’ll have masses of flowers already dried for you and ready to pick for this project. (If you want to dry your own lavender, it’s easy too – tie freshly cut lavender flowers into a bunch with string or elastic and hang it upside down in an airy, semi-lit place for 3 or 4 weeks).
To soften the hard rectangular lines of the background paper to fit the aesthetics of a love heart, roughly tear the edges off before gluing the colored paper to your base page. Paint a large heart shape onto your colored paper with generous amounts of glue, then cut off the stalks and place them on the glue in a heart-shaped outline. Crumble the lavender flowers in your hand and place on top of the glue, filling in the middle. Pack tightly. Place a sheet of paper on top of the heart, then layer a heavy book on top to press the flowers down until the glue is dry. It’s a heart-warming reminder of your garden with a gentle fragrance that you can smell every day!
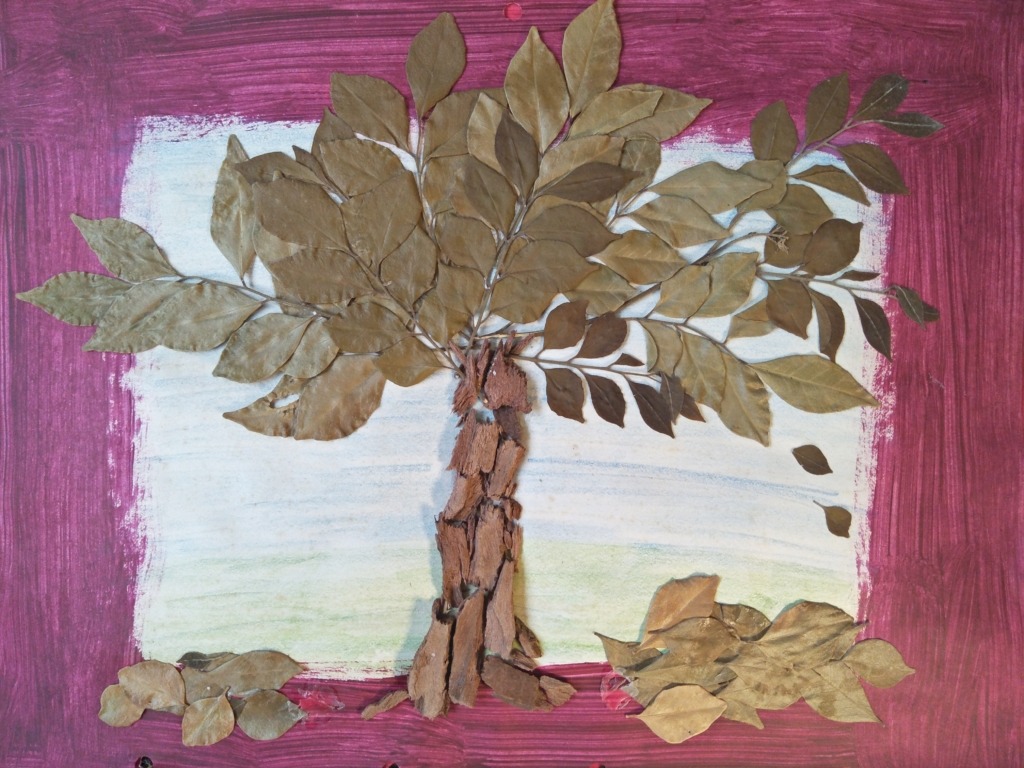
Autumn Tree
Who doesn’t love the changing colors of autumn? I brought it into my calendar one year with my autumn tree picture that changes before your eyes!
What you need:
- small green leaves (the thinner the better) still attached to their stems/branch, pressed for a day so they’re flat and easy to handle;
- wood chips or small and thin pieces of bark
- background – paper, cloth, or colored pencils/felt tip pens/paint
- liquid PVA glue, brushes and wipe up cloth
Create your background scene - I drew a sunny day with grassy hill and blue sky, but you could make it a city scene, or even a night scene with twinkly stars. Before you glue your bark and leaves into place, trial your design on a dry piece of paper so you can move your tree trunk and branches into the best position. When you’re ready, brush glue generously onto your background scene in the places where you will put your bark and leaves. Don’t forget to add a pile or two of leaves on the ground, where they’d fall as if they were real autumn leaves! Place a blank piece of paper on top, cover with a heavy book for a day until dry to flatten the leaves so they don’t curl or fall off. When you display your tree, the leaves will be green – but after a week you can watch them start to turn yellow and then brown, just like a real autumn tree!
If you had fun with these ideas, why not try your own abstract design using leaves, bark, berries, petals, small flat rocks, twigs or even sand or dirt from your garden?
Make A Leaf Bookmark
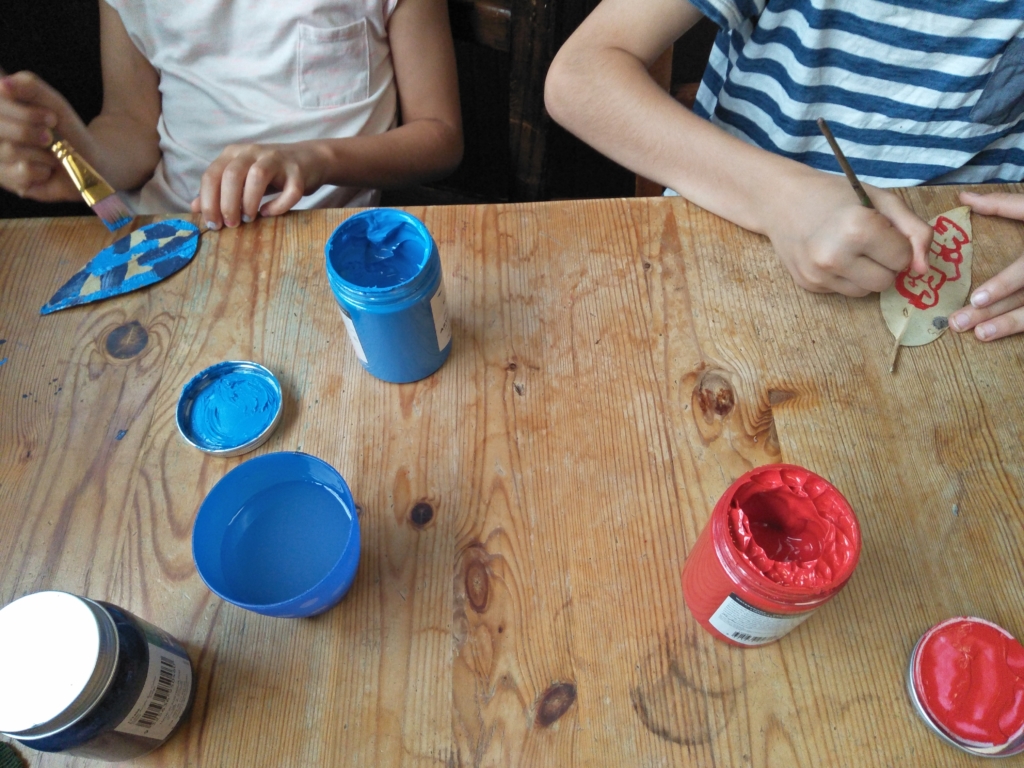
Do you have the same problem as I do every night, trying to get your kids to stop reading and go to sleep? Then take a leaf from my book – literally! Leaf bookmarks are super fun and easy to make using leaves from your own garden – and when it’s time for bed, kids will love to mark their place with their very own garden art!
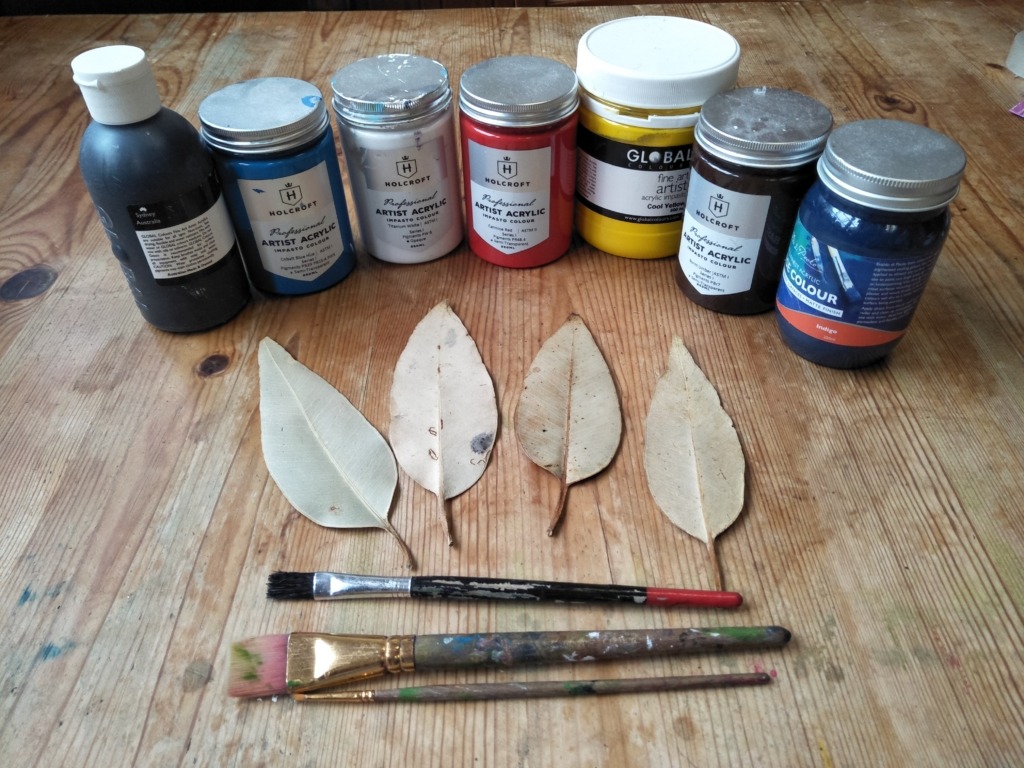
What You Need To Make A Leaf Bookmark:
- dried leaves, flattened under some heavy books for a day – we used eucalyptus leaves as their long, thin shape resembles bookmarks, but you can also use bark cut to shape, or even dried plaited grass!
- acrylic paints
- brushes, water, clean-up cloth
- liquid PVA glue to coat your final design (optional).
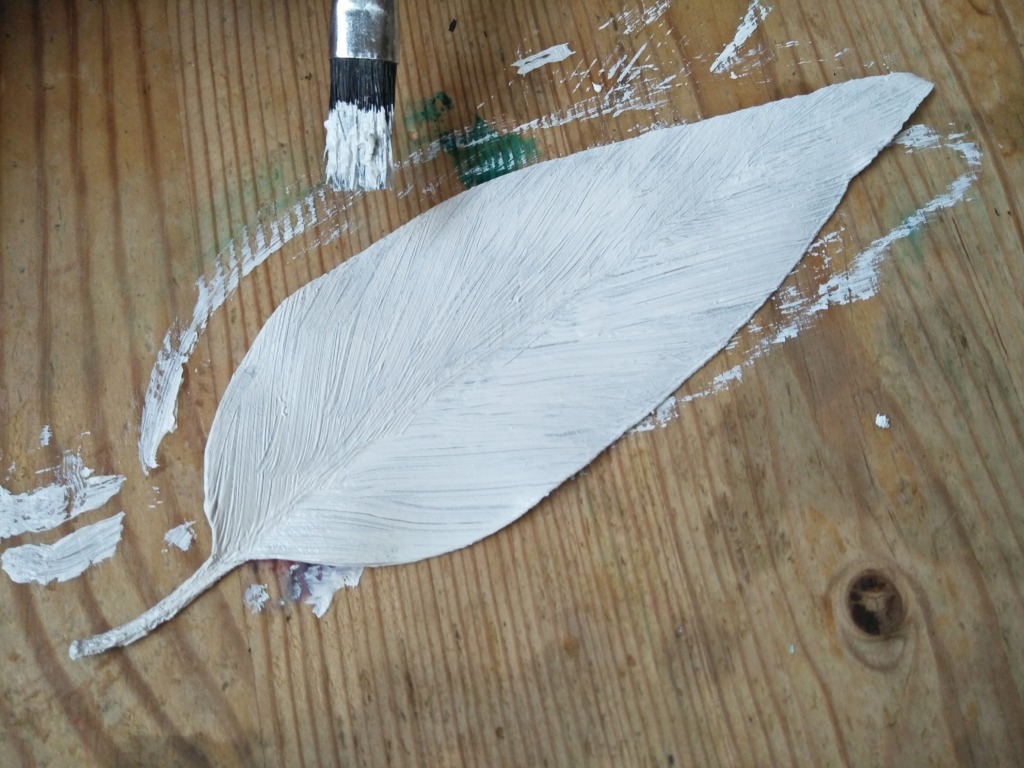
The fun part is that you can paint whatever you love – we painted feathers, abstract designs, the Spider-man logo, our names, the word ‘bookmark’ … hmm, what can you think of? When your paint has dried, it’s a good idea to paint it with a layer of liquid PVA glue. It won’t stop it from breaking, but glue helps extend the life of your bookmark by improving its bendability and acting as a water-resistant finish.
Enjoy!
Creating Gardening Crafts Creating Gardening Crafts Creating Gardening Crafts

2 Comments